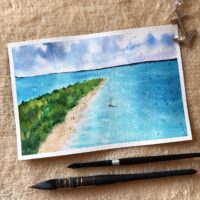
In the second episode of my video tutorials I’m going to teach you how to paint a Lake Scene. If you missed the first one where i painted the seascape “Green Island” you can follow the link or just browse the blog.
If you like this series please let me know in the comments, it helps me knowing how to move going forward!
Supplies
1 – Sky and Lake
- Tape down the paper on a mobile surface so you can freely move it and always find an angle you are comfortable with. Sketch the landscape lightly with a pencil and then wet the area where the sky is going to be with some clean water. If you have an air conditioner on you must be extra careful during this step, the water may evaporate before you expect it to!
- Mix Bright Blue and Cerulean Blue and put them on the wet area. As you keep going add Ultramarine and a touch of red (this way blue and red will turn into violet directly on the paper). Do the same with Payne’s Gray too. Put the mix on the wet paper making sure you leave some white areas that are going to be our clouds.
- Let some water drops hit the white areas and lift up a side of the paint so that the water can flow. This movement will make it so that some color is going to be moved around by the water drops and therefore will create a nice texture on the clouds.
- Keep going lifting some color and adding some new until you have a nice shape for the clouds.
- Wet the area of the lake.
- Cover the lake using a mix of Turquoise and a bit of Emerald and then add a blue like Thdanthrene Blue or Indigo with a bit of Ultramarine for the dark parts.
- With some fast but precise brush strokes apply the color on the lake area without filling it all and leave some white “stripes” in order to simulate ripples. If the color covers all your white spaces or if you simply wish to add more of them you can always use a clean and dry brush to lift up some of the blue while the paper is still wet.
- Splatter drops of clear water to create light reflexes and optionally remove some color with a tissue barely touching the painting if you want some bigger ones.
2 – Distant Mountain and Middle Ground Land
- By this time your sky should be dry, use some light and uneven wash of Violet, Payne’s Gray and Ultramarine.
- Wait for the paint to dry again and with some quick brush strokes give life to the mountain. Remember if you want it to feel distant you shouldn’t put many details in it, just give the hint of its shape.
- For the Land I used Umber, Raw Sienna, Burnt Sienna. For details some Sepia and for the greenery I used a mix of greens, some of which were more yellowish and some more bluish. Try to mix the color right on the paper, it’s indeed a more difficult task but the result is more satisfying.
- You should start by using the lighter colors and grow towards darkness. Add details following the paper that’s drying up.
3 – Foreground and Final Details
- As we did before add the warm and brownish color on the bottom and green on top, mixing them together on the paper. Here you can add more details because this part should be on the foreground.
- Define the lands adding more details and very dark strokes where they touch the water, you can also use a fineliner during this process if it helps
- To create the land’s reflections on the water you should darken it near the cliff using a dry brush with dark blue.
- To finish the painting add some flying birds using Payne’s Gray or a fineliner if you feel comfortable with it. Change their dimensions to convey that they fly at a different distance from our point of view.
- Splatter some white on the lake near the bottom of the paper.
- The painting isn’t really finished until you sign it!
4 – The Result
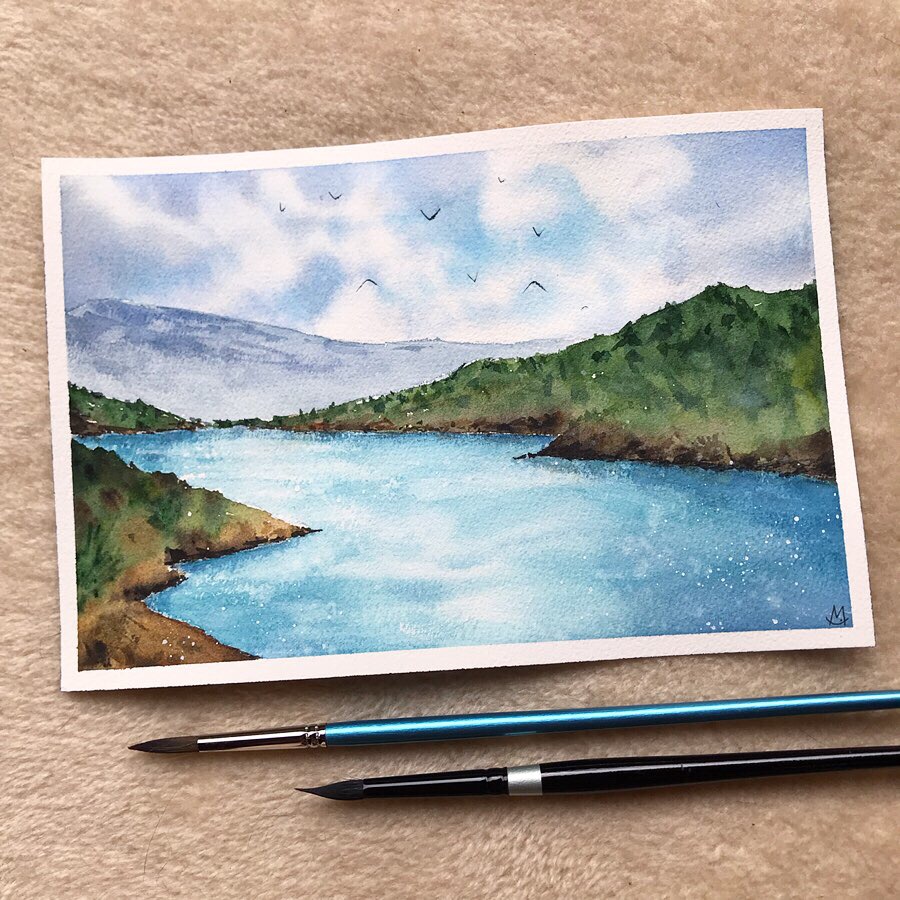
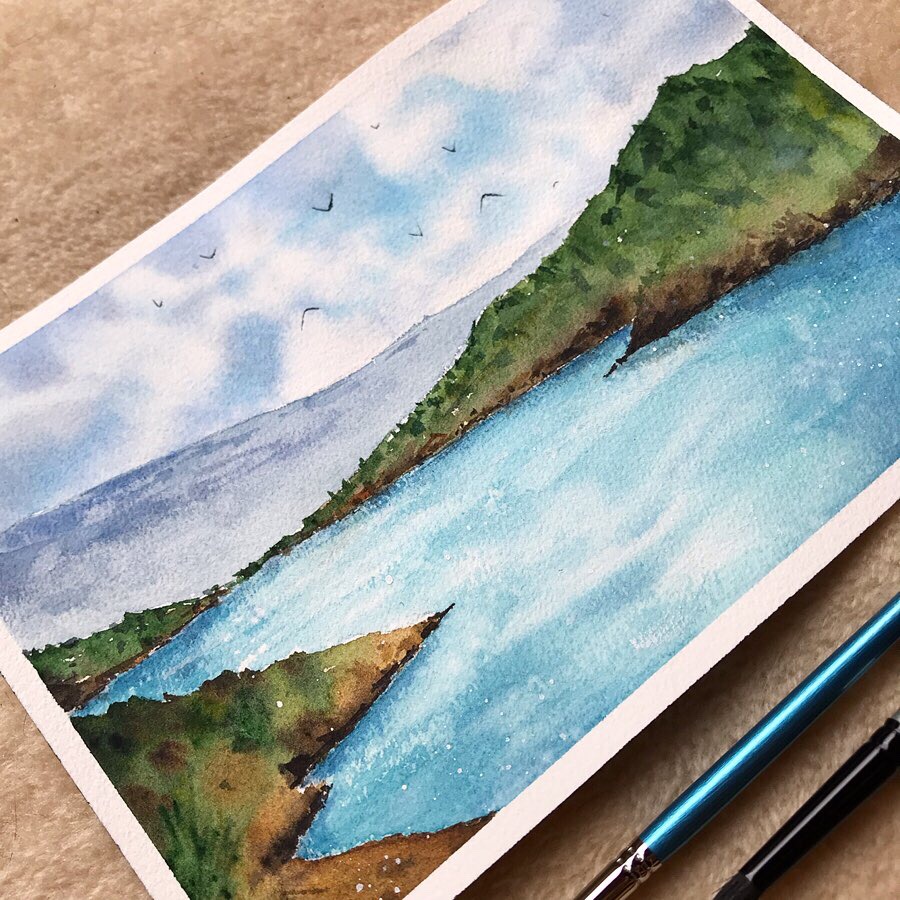
If you try this painting remember to tag me on Instagram (do it on the photo, not in the caption! This way i won’t miss it) with @chiaramazzetti.art and put the hashtag #chiaramazzettitutorial, i’d love to see what you create!
Music by IKSON
Horizon – https://soundcloud.com/ikson/horizon-free-download
Happy Painting!
Chiara
List of watercolor names (based on the brand i used for this painting: White Nights Nevskaya Palitra)
