Here i share with you all the steps to paint this beautiful mountain view. Grab your watercolors and let’s paint together! Enjoy 🙂
Supplies
You will need:
1 – The Sketch
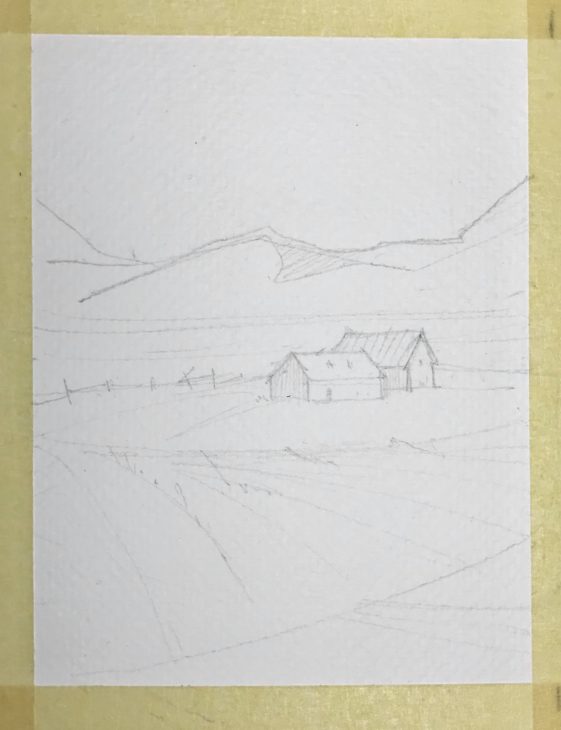
- Frame the area with the masking tape to prevent the colors to run out of the borders.
- Draw the fields in the foreground with the houses and the mountains far away. Sketch light.
2 – First Layer
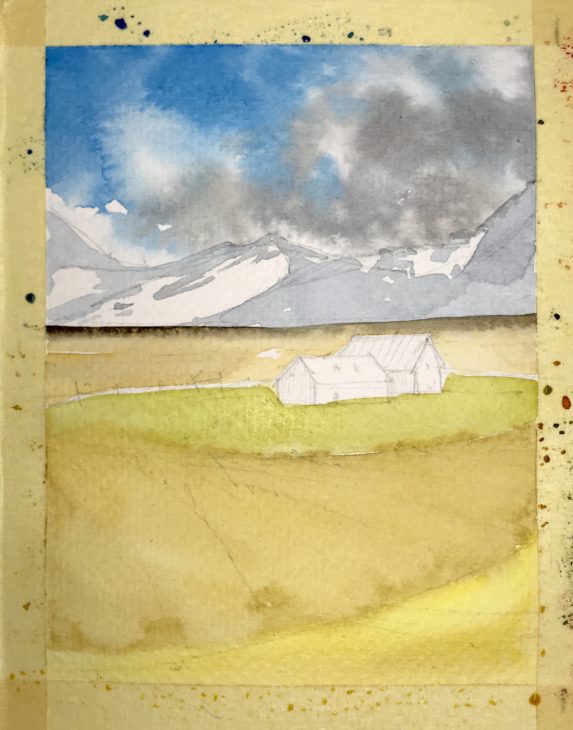
- Start with the sky. All this layer is done with the bush number 10.
- Wet the area and put the Bright Blue on the top left corner, paint the bottom right part of the sky with Payne’s Gray instead with little drops of Sepia. Leave some white areas for the clouds
- When the previous area is dried, step on the mountains. Prepare the Indigo with a lot of water and paint the shadows.
- Let’s step on the foreground. There are three different fields and i paint with:
– Olive Green + Indian Yellow the more distant one (with the houses)
– Umber + Indian Gold the middle one
– Indian Yellow the one in the foreground - Then i paint the ground under the mountains with Raw Sienna and the dar line with Sepia, avoiding the houses.
- Let dry.
3 – Second Layer
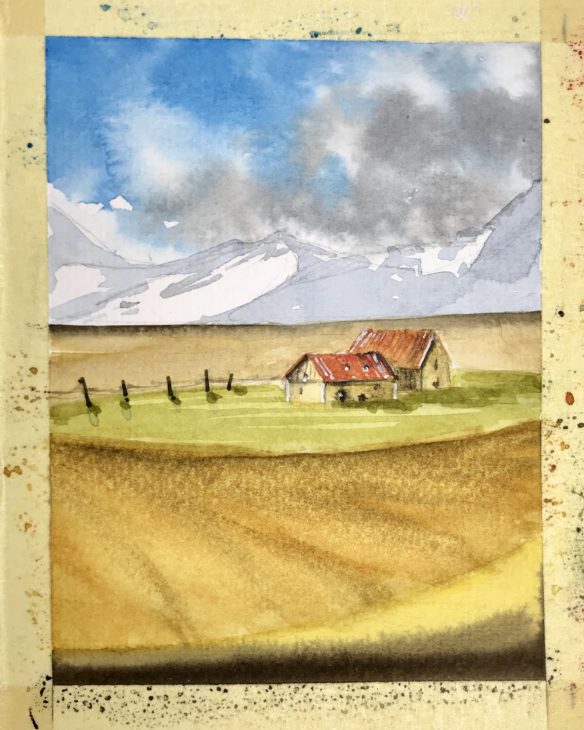
- Again paint the three fields to make the colors more intense with the brush number 10
- Starting with the foreground i paint it with Sepia
- Next the middle ground i add a wash of Indian Gold and next i add some drops of Sepia
- To give more texture, with Olive Green i darken the ground with the houses.
- Now take the brush number 4 and let’s paint the houses and the fence
- Houses: start with a very diluted Indian Gold for the walls, next add some Sepia in the shadows. For the roofs i used Red Ochre. When it is dried, add some light with a white pen.
- For the fence i only used thick Sepia
- Add shadows with other brushstrokes of Olive Green
4 – Third Layer
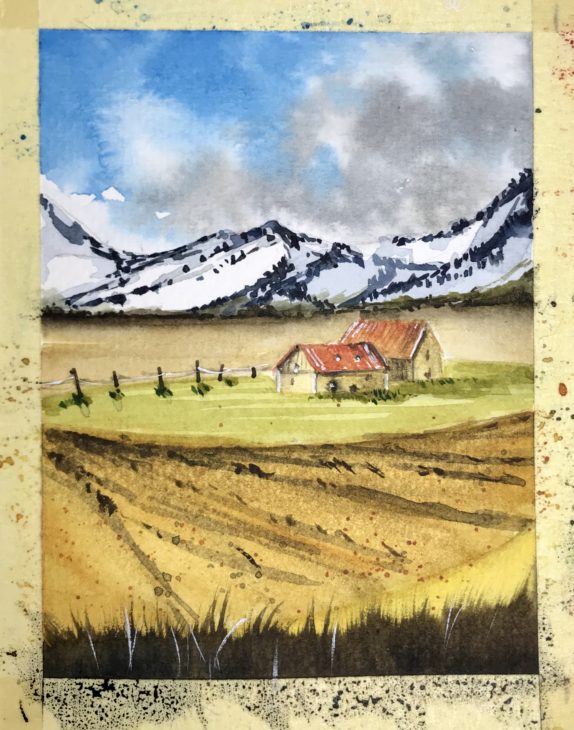
- Always with the brush number 4, add the details on the mountains and on the fields.
- Mountains: with Indigo and Payne’s Gray add the dark parts. With Sepia and a fountain pen refine the bottom.
- Fields: add movement with some splatter and lines with Sepia and Red Ochre.
- Take now the Filbert Comb Brush and again with Sepia add grass on the foreground
- To finish, draw white lines in the foreground and on the fence
Final Result
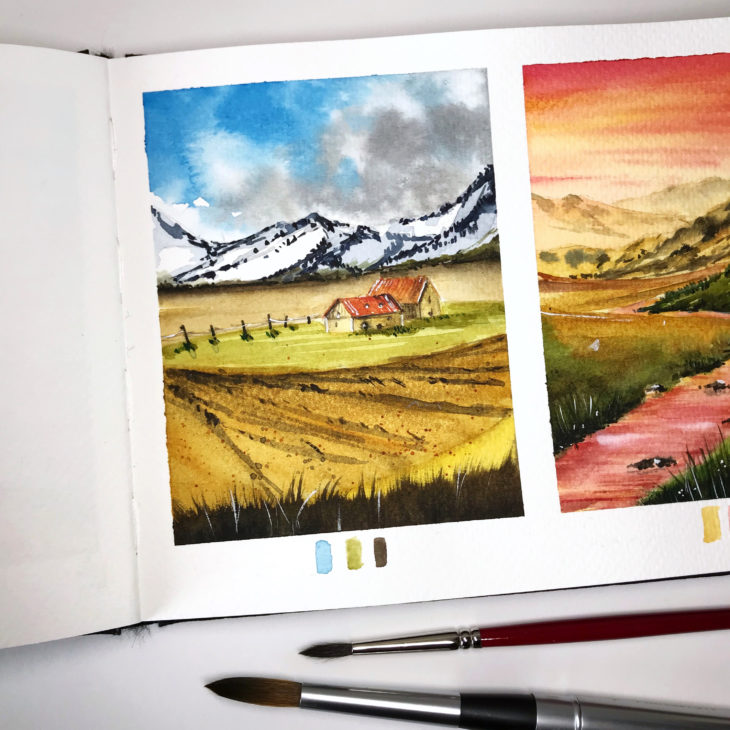
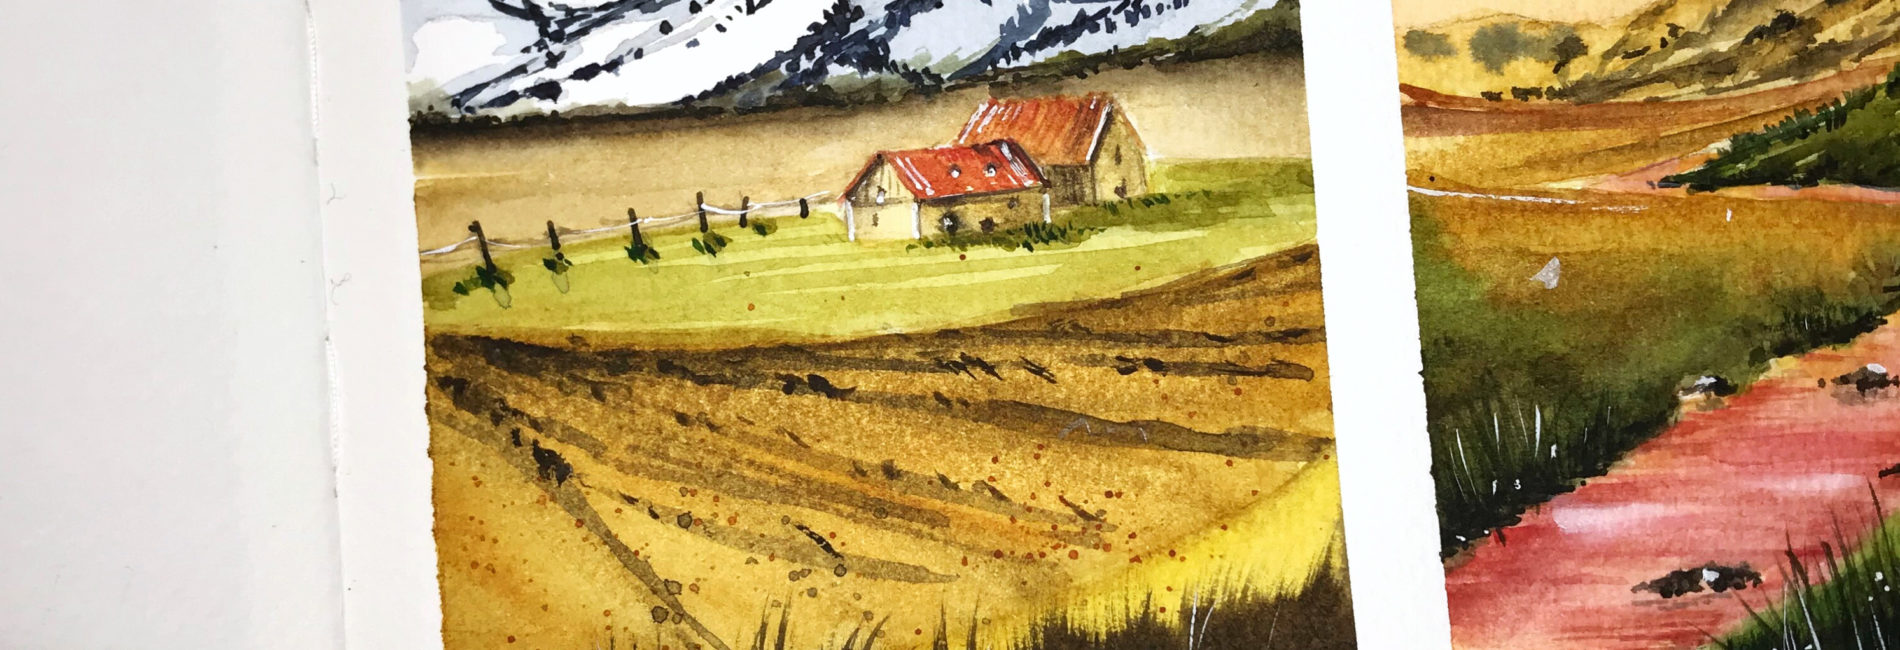
- The painting is complete!
- Sign the paint and add some colors you used on the borders if you like.
If you try this painting remember to tag me on Instagram (do it on the photo, not in the caption! This way i won’t miss it) with @chiaramazzetti.art and put the hashtag #chiaramazzettitutorial, i’d love to see what you create!
Happy painting!
Chiara
List of watercolor names (based on the brand i used for this painting: White Nights Nevskaya Palitra):




Hira
Hi Chiara – thank you so much for all this helpful material. I’ve learnt so much from your instructions – even those of your paintings that are simple have so many nice technical details in them and they provide so much value to a student trying to learn with you. I hope to see more of your work and learn more with you as well – thank you for sharing your work with us!